Understanding Why Preparation Matters Before an LED Headlight Upgrade
Many vehicle owners and fleet operators consider an LED headlight upgrade as a simple bulb swap, only to discover that improper preparation leads to beam pattern issues, flickering, CAN bus errors, or even heat-related failures. This article outlines the practical steps any buyer — whether a DIY enthusiast, a repair workshop, or a commercial fleet manager — should take before purchasing and installing upgraded LED headlights.
Verifying Vehicle Compatibility and Bulb Fitment
The first step in any LED headlight upgrade is confirming which bulb type the vehicle requires. Common socket types include H1, H4, H7, H11, 9005, and 9006, each designed for specific housing dimensions and electrical interfaces. A 9005 bulb will not physically fit into an H7 socket, and attempting to force an incompatible bulb damages both the connector and the reflector assembly. Beyond the socket code, buyers should check whether the vehicle uses a single-beam or dual-beam configuration. Dual-beam systems, such as those using an H4 bulb, require an LED replacement that correctly positions both low-beam and high-beam emitters to maintain proper light cutoff and avoid blinding oncoming drivers. Manufacturers such as Dongguan Tongying Technology have production lines that cover the major socket types including H1, H3, H4, H7, H11, and 9005, but the responsibility for matching the correct type to the vehicle rests with the installer or purchasing manager.
Evaluating LED Chip Technology and Light Output Specifications
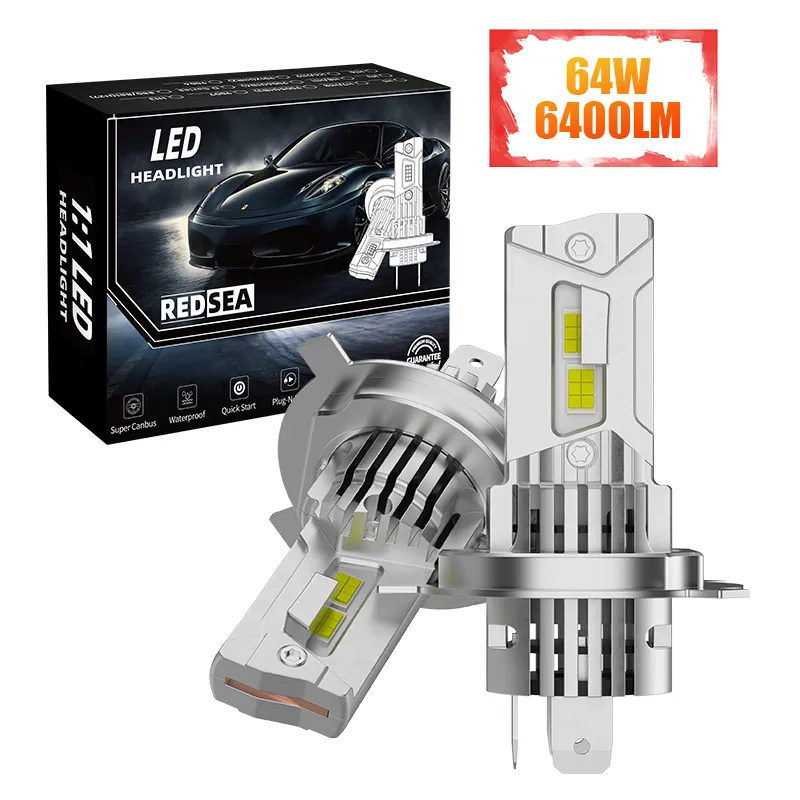
Not all LED headlight bulbs deliver the same brightness or beam quality. When preparing for an LED headlight upgrade, buyers should understand the key technical parameters: luminous flux measured in lumens, color temperature measured in Kelvin, and the chip arrangement on the bulb shaft. A bulb rated at 240W to 330W offers substantial light output for dark rural roads, but wattage alone does not guarantee a usable beam pattern. The positioning of individual LED chips relative to the original halogen filament location determines whether the reflector or projector lens can focus the light correctly. Chips mounted too far forward or backward create scattered light that appears bright to the driver but fails to illuminate the road ahead effectively. For example, the Redsea series of LED headlights produced by Dongguan Tongying Technology features multi-point chip placement designed to mimic halogen filament geometry, an approach that helps maintain beam focus after the upgrade.
Checking the Electrical System and CAN Bus Compatibility
Modern vehicles with CAN bus electrical architectures monitor bulb resistance and may trigger dashboard error messages or flickering when an LED bulb draws less current than the halogen bulb it replaces. Before ordering an LED headlight upgrade, buyers should determine whether their vehicle requires CAN bus-compatible LED bulbs with built-in load resistors or decoders. This is especially relevant for European vehicles manufactured after 2008 and many Asian models from 2012 onward. Without proper electrical preparation, an otherwise high-quality LED bulb may behave erratically — flashing on startup, causing radio interference, or even triggering limp mode in sensitive ECU systems. Fleet operators upgrading multiple vehicles benefit from standardizing on a single LED bulb model that has been tested across their vehicle types, reducing the diagnostic time spent on individual electrical compatibility issues.
Assessing Heat Dissipation and Physical Clearance
LED headlight bulbs generate heat at the base rather than at the tip, unlike halogen bulbs, which radiate heat forward. This means the heat sink — whether a passive finned aluminum design or an active cooling fan — must fit within the headlight housing without interfering with dust covers, wiring harnesses, or adjacent engine bay components. A common preparation mistake is measuring only the bulb insertion depth while ignoring rear clearance for the heat sink body. Active fan-cooled bulbs offer strong thermal management in confined spaces, but fan failure after prolonged exposure to dust and moisture can lead to rapid LED degradation. Passive heat sinks using copper or aluminum fins avoid this failure mode but require more physical space. Dongguan Tongying Technology employs reflow soldering and aging test procedures during production to verify that thermal joints between LED chips and substrates remain stable under extended operation, and some products use copper-based heat dissipation structures that buyers in tropical or high-temperature markets may wish to consider.
Confirming Quality Certifications and Supplier Documentation
Before completing an LED headlight upgrade purchase, buyers should verify what quality certifications the product carries. For markets such as the European Union and North America, RoHS compliance indicates that the bulb meets restrictions on hazardous substances, while ISO 9000 certification of the manufacturing facility suggests consistent quality management practices. Dongguan Tongying Technology holds both RoHS and ISO 9000 certifications, which provides a baseline assurance of process control during production. Additional documentation buyers may request includes photometric test reports showing actual lumen output and beam pattern measurements, IP rating certificates for dust and water resistance if the vehicle operates in harsh environments, and aging test data indicating expected lumen maintenance over time. These documents are particularly important for commercial fleet buyers who need to justify the LED headlight upgrade investment through projected maintenance savings and reduced failure rates.
Preparing for Installation: Tools, Adaptors, and Alignment
Even after selecting the correct LED bulb with the right specifications and compatibility features, the physical installation requires preparation. Many vehicles use retaining clips, spring-loaded collars, or adapter rings that may not fit LED bulb bases without modification. Buyers should check whether the LED headlight upgrade kit includes vehicle-specific adapter rings or whether these must be purchased separately. After installation, headlight aiming becomes critical — an LED bulb with a correctly positioned emitter can still produce glare if the entire headlight assembly is misaligned. Professional workshops and fleet maintenance departments should budget time for beam pattern verification against a wall target at a standard distance, typically 7.6 meters or 25 feet, to ensure the cutoff line falls within legal specifications.
Case Example: A Fleet Retrofit in a Southeast Asian Market
In one practical deployment scenario, a commercial transport fleet operator in Southeast Asia planned to upgrade 40 delivery vans from halogen to LED headlights. The purchasing manager faced three preparation challenges: the vans used H4 dual-beam bulbs requiring careful emitter positioning, the fleet operated in a humid coastal environment demanding corrosion-resistant materials, and the budget required compatibility with existing dust covers to avoid additional housing modifications. After verifying bulb dimensions, socket compatibility, and reviewing supplier aging test data, the fleet selected a 300W LED bulb with copper-based passive cooling and CAN bus-ready circuitry. By standardizing on one model and dedicating two days to batch installation with beam pattern checks, the fleet completed the LED headlight upgrade without a single return or on-road glare complaint during the three-month evaluation period.
Table of Contents
- Understanding Why Preparation Matters Before an LED Headlight Upgrade
- Verifying Vehicle Compatibility and Bulb Fitment
- Evaluating LED Chip Technology and Light Output Specifications
- Checking the Electrical System and CAN Bus Compatibility
- Assessing Heat Dissipation and Physical Clearance
- Confirming Quality Certifications and Supplier Documentation
- Preparing for Installation: Tools, Adaptors, and Alignment
- Case Example: A Fleet Retrofit in a Southeast Asian Market