
 EN
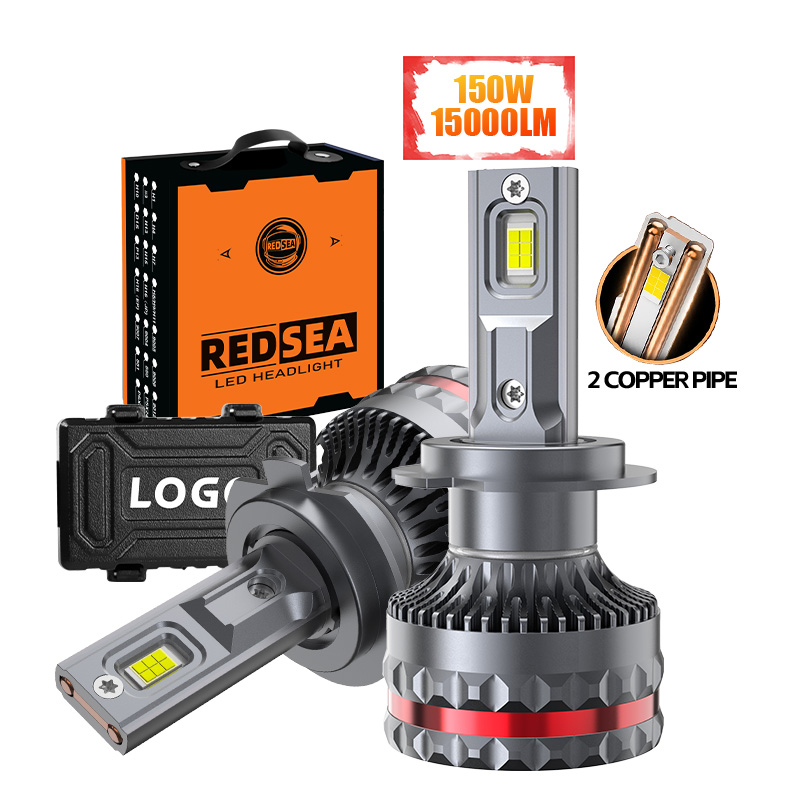
Understanding the Installation Timeline
When upgrading your vehicle's lighting system, one of the most common questions drivers ask is how long the upgrade process actually takes in a real-world scenario. If you are planning to switch from factory halogen bulbs to a high-performance 9005 headlight bulb led, you can typically expect the entire procedure to take anywhere from 15 to 30 minutes for a standard DIY project. For experienced mechanics or DIY enthusiasts with prior hands-on familiarity under the hood, this time can easily drop to under 10 minutes. However, if your specific vehicle model features a tightly packed engine bay with restricted access to the headlight assembly, it might require an extra few minutes of careful preparation. Modern automotive lighting innovations are designed to be extremely user-friendly, and transitioning to a 9005 headlight bulb led is one of the most efficient, cost-effective ways to dramatically improve nighttime visibility, expand your field of vision, and enhance overall driving safety without requiring extensive mechanical modifications, custom wiring, or professional garage assistance. Taking the time to understand each phase ensures a seamless upgrade for every driver seeking better road illumination and long-term reliability on every trip.
Preparing Necessary Tools and Safety Measures
Before you begin working on your vehicle's electrical components, proper preparation ensures both personal safety and operational efficiency during the swap. While traditional bulb replacements or HID conversions often require specialized tools, external ballasts, or complex relay harnesses, modern plug-and-play designs—such as those engineered by industry specialists like Red Sea Headlight—require little more than a clean pair of working gloves, safety glasses, and a standard flashlight. It is critical to ensure that your vehicle's ignition is completely turned off and the keys are removed to prevent any accidental electrical short circuits or blown fuses. Furthermore, allow the engine bay to cool down completely if the vehicle has been running recently, as factory halogen bulbs reach extremely high operating temperatures during standard operation. Taking these simple safety precautions protects your hands from burns and safeguards your car's sensitive onboard computer systems during the installation of your new 9005 headlight bulb led.
Step-by-Step Replacement Procedure
Executing the replacement process methodically guarantees a secure mechanical fit and optimal optical performance on the road. First, open your vehicle's hood and locate the rear housing of the headlights. Depending on your car's specific make and model, you may need to remove a rubber or plastic dust cover or temporarily shift minor components like a coolant overflow reservoir or battery cable out of the way to gain unobstructed access. Next, firmly twist the existing factory halogen bulb counterclockwise to unlock it from the retention socket and gently pull it straight out, carefully disconnecting the factory wiring harness. Take your new 9005 headlight bulb led, align its precision mounting tabs with the corresponding slots in the housing assembly, and twist it firmly clockwise until it locks securely into place. Finally, connect the driver plug, ensuring a tight, weather-sealed connection that will resist engine vibrations over time.
Overcoming Common Installation Challenges
Even with streamlined plug-and-play upgrades, drivers occasionally encounter minor technical hurdles during the installation process. One of the most frequent challenges is spatial restriction, particularly in modern compact cars and sedans where engine components are densely packed directly behind the headlight assembly. If your hands cannot comfortably reach the socket, consult your vehicle's owner manual to see if removing the front grille or entire headlight assembly is necessary—a maintenance step that usually involves only a few bolts. Another common consideration involves thermal management and dust cap clearance. High-quality LED options utilize advanced heat sinks or mini-fans to dissipate heat efficiently, which can occasionally interfere with factory dust caps. If this occurs, specialized extended or vented dust covers provide the necessary clearance without compromising moisture protection, ensuring your 9005 headlight bulb led operates at peak performance in all weather conditions.
Final Testing and Beam Pattern Alignment
Once the physical installation and wiring connections are complete, the final phase involves verifying proper functionality, electrical stability, and safety compliance. Turn on your vehicle's headlights and switch smoothly between low and high beams to check for consistent, bright illumination, instant startup response, and the total absence of flickering or dashboard error codes. To ensure optimal road safety, park your car facing a flat wall or garage door in a dark environment to evaluate the beam pattern and cut-off line. A properly installed LED upgrade should project a sharp, focused beam that illuminates the road surface and lane markers without scattering light or blinding oncoming traffic. Taking these few extra minutes to test and verify your work ensures your night driving is significantly safer, clearer, and more reliable for all your future journeys.
